4 Steps To Choosing A Kitchen Backsplash
Wow, don't you just love the options for amazing kitchen backsplashes these days? All manner of materials, colours and patterns are accessible and pretty easy to install as well. A backsplash can be a simple and cost-effective way to dramatically update your kitchen with style. But with such a wide array of choice, how do you select the best one for your kitchen? And how to do you make a sustainable kitchen backsplash choice?
4 STEPS TO SIMPLIFY YOUR BACKSPLASH DECISION
1. Choose your countertop and cabinets first.
It's highly debated whether to choose backsplash or countertop first, but for sustainability reasons, I always say choose neutral, classic, hard working and long-lasting countertops and cabinets first, then select a backsplash that will complement them. A backsplash can always be changed out when you want a refresh - but the countertop and cabinets should last forever. If your kitchen cabinets and countertops are neutral you can have some fun with the backsplash with pattern or a little colour. Or continue your neutral theme with subway tiles, which will always look great.
2. Consider the mood and style of the home.
Is your home eclectic and could handle a little fun and colour in the kitchen? Or, do you have a country-style or a minimalist home and want the kitchen to reflect that? Work with your style and let that drive a decision on colour and pattern. White subway tile or beadboard work well in a farmhouse style home; green glass tile works for a beachy, elegant classic; and colourful Moroccan cement tiles work for an eclectic abode.
3. Decide on the material.
If you own your home and can invest a little more in a backsplash that will last beyond a trend, I recommend tile or stone. It's easy to install and affords a high-end look. Check out this post for ideas on the most eco-friendly options.
But if you rent, you'll want something that won't damage the walls. You could consider cutting beadboard wainscoting to size and fitting it in snugly. Or do what I did in my rentals - paste up removable wallpaper and coat it with a high-gloss durable top-coat like a water-based polyurethane.
Also, your material will determine how much upkeep you need to do. Glass and ceramic tiles don't generally need much once you seal the grout when first installing, but cement or clay tile is porous and will need to be sealed from time to time. White beadboard or shiplap could stain if not washed down frequently and sealed from time to time.
4. Determine where your backsplash will go.
Traditionally, it runs from countertop to the bottom of cabinets, but with the trend now for open shelving or bare upper walls, continuing the backsplash from counter right up to ceiling makes sense and keeps the kitchen less cluttered-looking. You could run it up to the ceiling only on the range wall for a beautiful and functional focal point. If you plan on having a large area of backsplash, that will obviously affect your budget so plan accordingly.
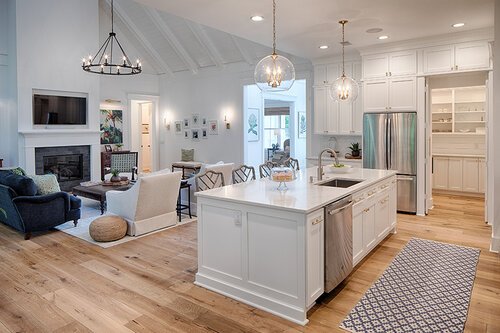
Take a look at these gorgeous backsplash examples and then consider making this kind of simple but dramatic update to your kitchen without ripping it out and starting over (click on photos for sources).
Here are some amazing examples to inspire your backsplash adventure. Click on photos for sources.


