How To Organize A Kitchen For Baking
I try to eat a whole-food, plant-based diet, and since gradually going in that direction over the last 7-8 years, I've had to learn how to cook and bake. It's not something I’m overly fond of ... in fact, my nickname in the past was always 'the microwave queen'!
However, I've discovered a little secret to making cooking not-so bad: create a kitchen that’s super-organized, functional and enjoyable to spend time in.
When I set up my kitchen so that everything is more efficient and less frustrating, I’m more apt to spend time cooking and baking in it. Baking things like muffins and healthy cookies are key for me in preparation for a week of eating well, and since I’ve started setting up my kitchens (in my last few homes) specifically for baking, I’ve been doing this a lot more.
Here's what I did.
6 STEPS TO SET UP FOR EASY BAKING:
STEP 1:
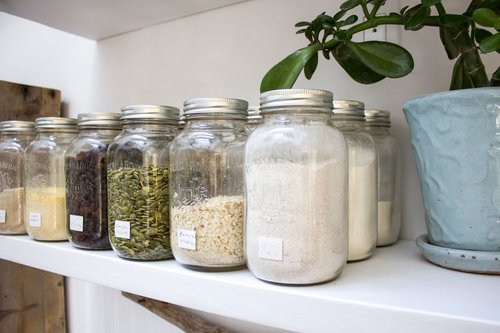
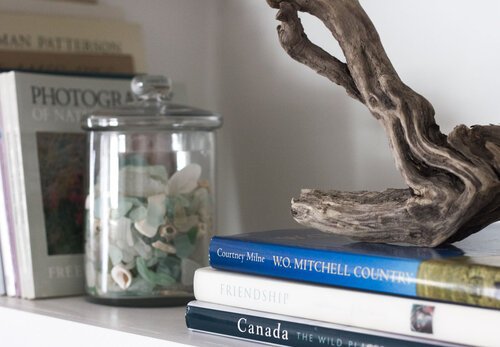
Put your baking supplies into canisters that are the same size and shape and label them, so that you can store them all together and find what you need easily. I like clear jars as it helps you see when I’m getting close to having to re-stock, and they look pretty on my open shelves. Lined up together they actually look really appealing out in the open.
I use mason jars for things I don’t have too much of, and large repurposed pickle jars (I spray painted the lids in chalk paint so I could label them) to hold large quantities of the supplies like flour and oats. (FYI - I keep one big jar already pre-mixed with rolled oats, pumpkin seeds, walnuts and raisins so my oatmeal breakfasts and snacks are super easy).
STEP 2:
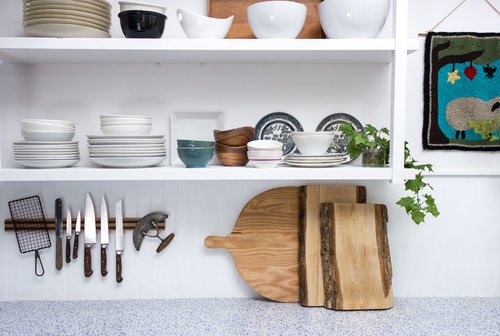
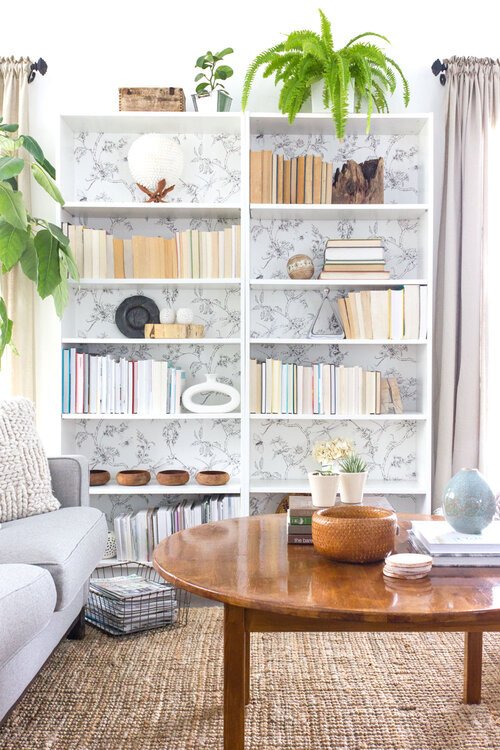
Stack together all the pretty bowls, chopping boards, utensils and tools you'll need for mixing so they’re also really easy to grab. Again, mine are out in the open, which encourages me to keep them neat and tidy.
STEP 3:
Fill a basket or crate with measuring cups, muffin cups, and any other odds and ends tools you may need for baking. Label or tag the basket so you can easily find it and pull it down off the shelf or out of a cupboard and have everything at your fingertips during baking. If you'd rather have these things in a drawer, create dividers using old cardboard boxes so everything has its place. Or keep them hanging near where you use - I love keeping mine on a driftwood hanger on my backsplash.
STEP 4:
Gather spices together in small jars, all the same size. I prefer the small half-size mason jars with the lids covered in chalkboard paint so that I can write the names on the top. They're also handy as I can then buys spices cheaper in bulk and bring them home to refill the jars.
You can see here that I've gathered all of mine together in a wooden cupboard with a glass door, but if you have a shallow wide drawer, they fit nicely there as well, labels up so they’re easy to grab.
STEP 5:
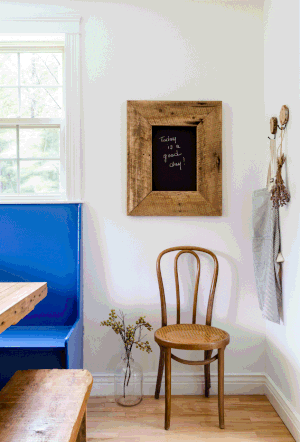
Keep cookbooks handy by stacking them on top of the fridge or in the corner of your counter where space is usually not very effective used anyway. I also like to keep my favourite go-to recipes right in front of me so I copy them on a recipe card and hang them on my backsplash in eyesight with an old board and paperclip.
STEP 6:
Make clean-up a breeze by having hand soap out in a pretty pump container that's easy to press on when you have dirty hands that need washing. I keep a cute vegetable/fruit scrub brush hanging on the window ledge at my sink for easy access as well.
I won't mention baking sheets, cake pans, etc. because you've probably already got them all together in an easy location, right???
If not, check out this post on how to simplify your whole kitchen.
Another little tip: have access to music or a podcast or your favourite uplifting Netflix show while your baking - it’s more fun to listen while you work!
Now, go bake up a yummy and healthy batch of muffins (these are one of my favourites) and enjoy your simple and inspiring kitchen!
