IKEA Wallpapered Chair Tutorial
Thank you all so much for your atta girl's on my IKEA chair hack that I posted as part of my One Room Challenge guest room/home office makeover project!
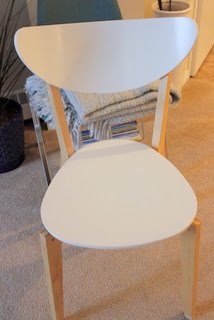
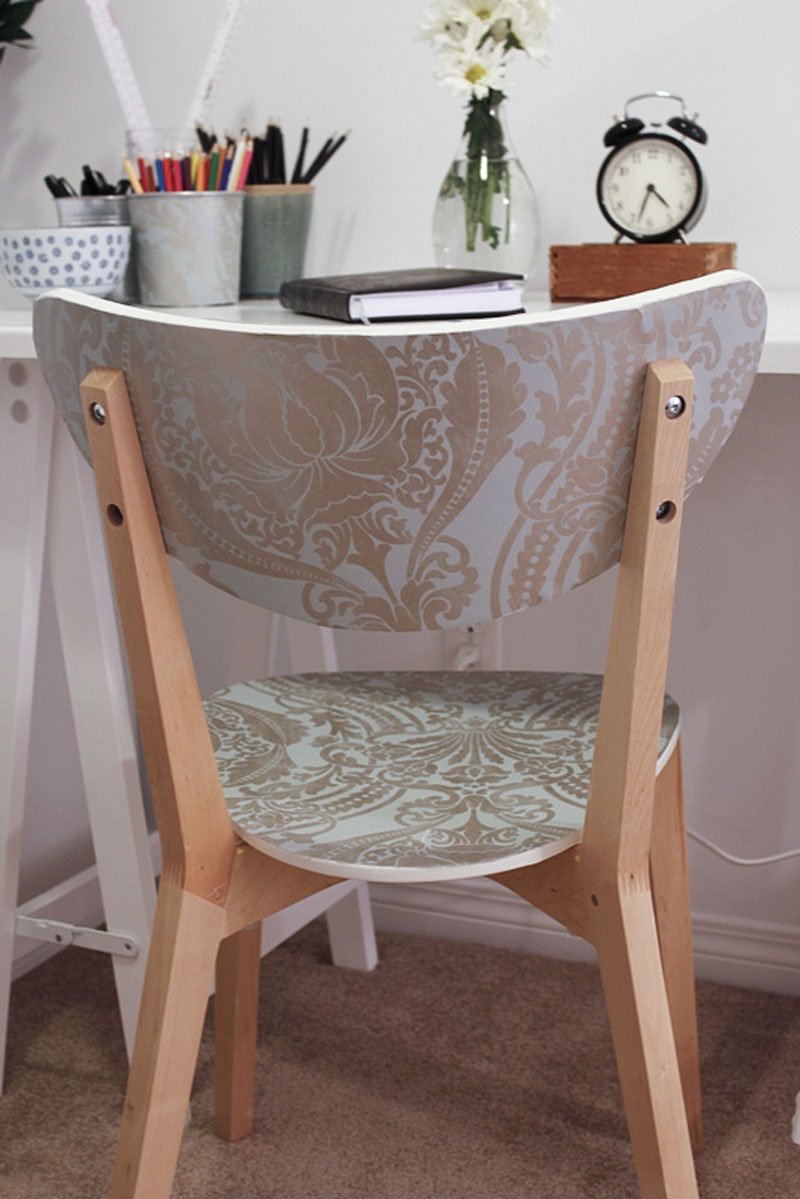
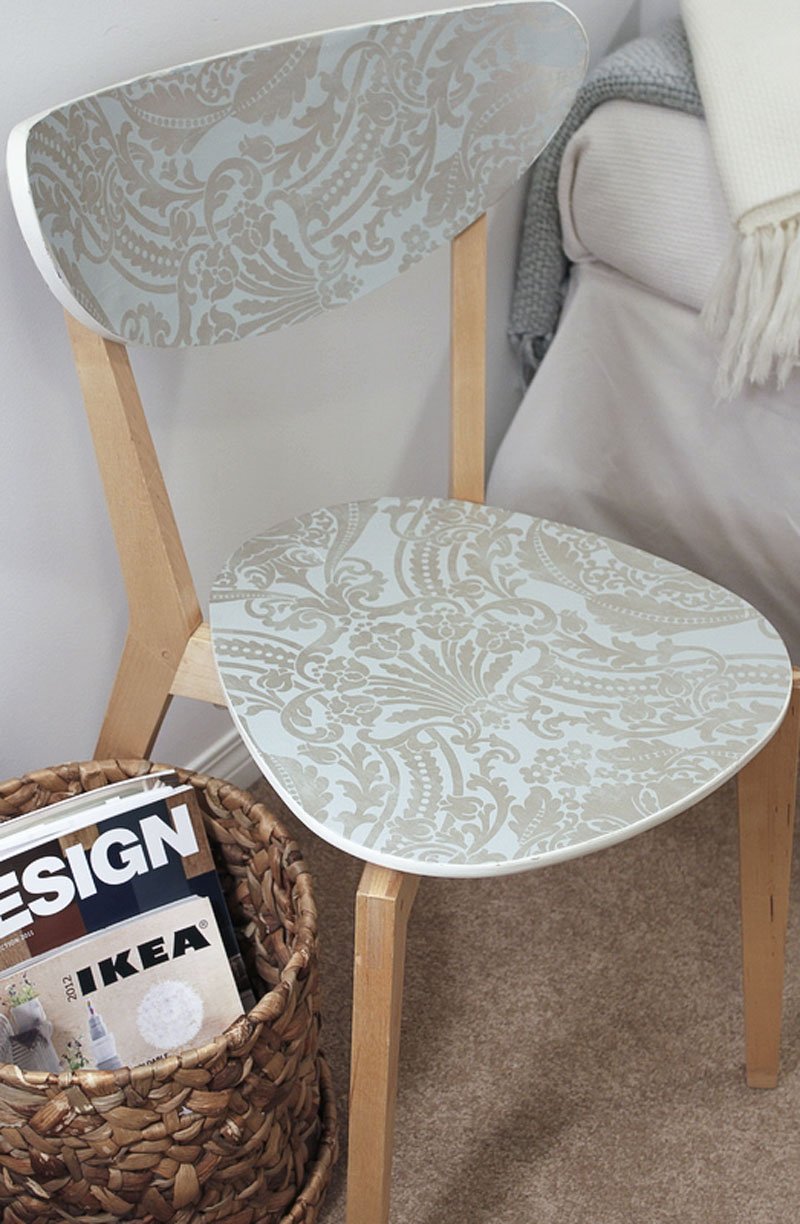
This DIY chair that was part of the room is an IKEA chair found in the markdown section that was scratched on the seat so looked really bad. No need for it to go to the landfill - I just wallpapered over it and it's a brand new chair!
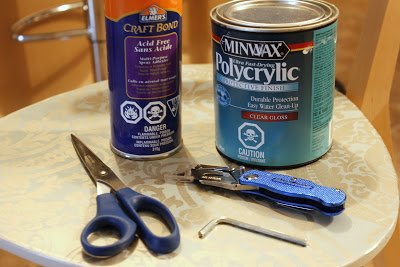
1. I used an allen key to detach the backrest.
2. I traced the back onto the backside of some leftover wallpaper I had (twice, one for each side).
3. I cut a little larger than the trace that I made, with scissors.
4. I then used spray adhesive to glue it onto the back side.
5. I used a sharp utility knife to cut along the edges of the chair to get the wallpaper nice and neat.
6. The I repeated the same process for the front of the back rest and the chair seat.
7. I used just a touch of semi-gloss polyurethane to go over the wallpaper, to make sure that the edges didn't fray from use. Don't use too much, as it will wet the wallpaper and bubble it.
8. Finally, I used a pencil to punch the holes in the chair-back where the screws go, and then screwed it back onto the chair.
Easy peasy! What a great way to reuse and fix up something old instead of consuming new, don’t you think?
