DIY Reclaimed Wood Bracket And Hanging Cage Light
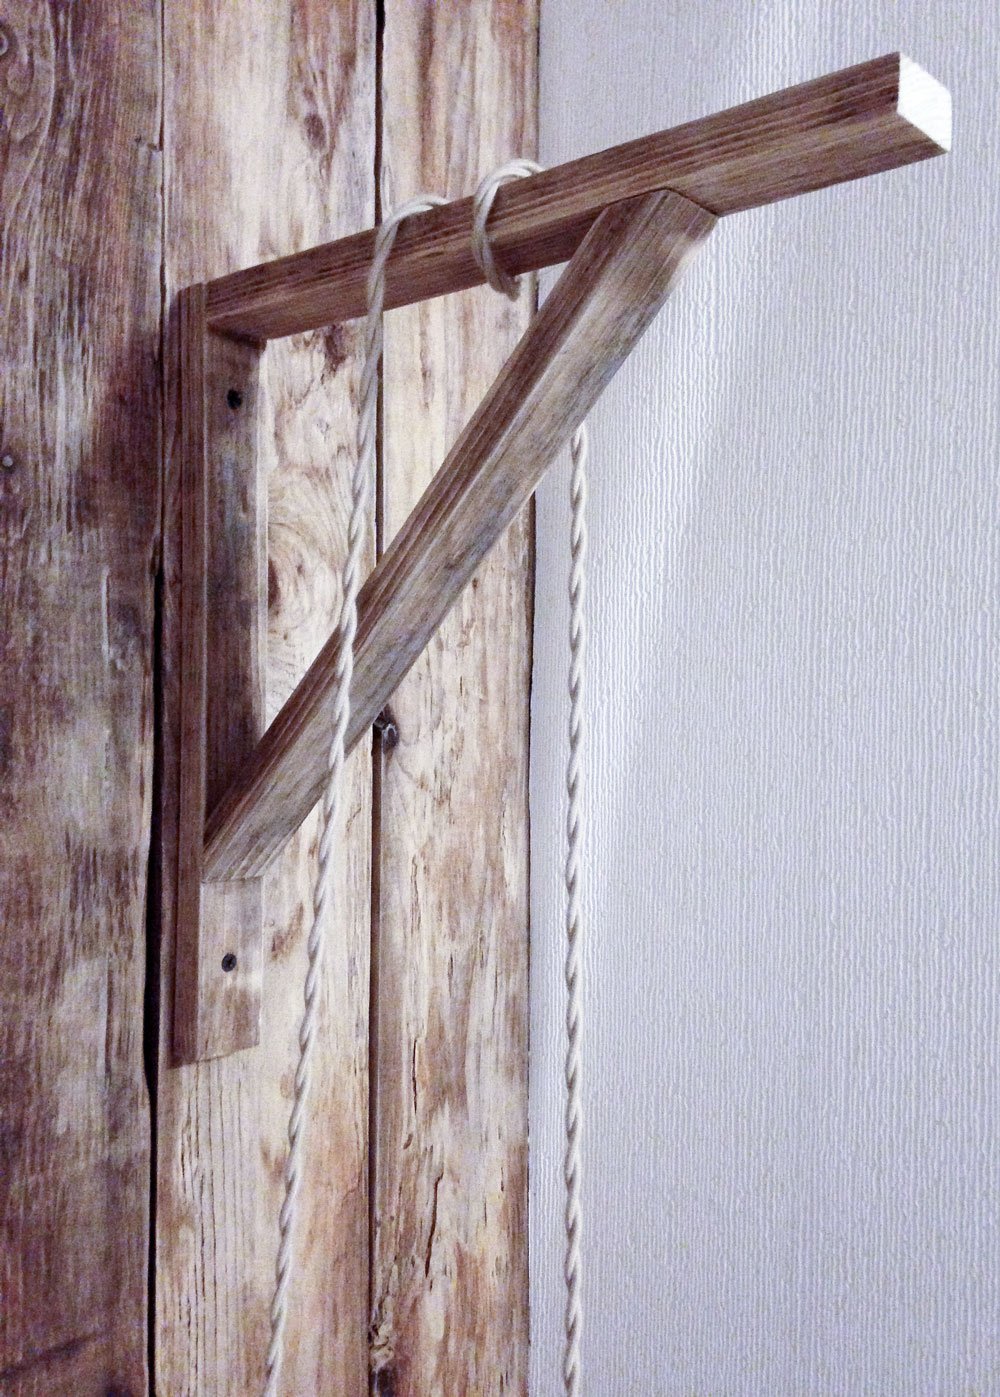
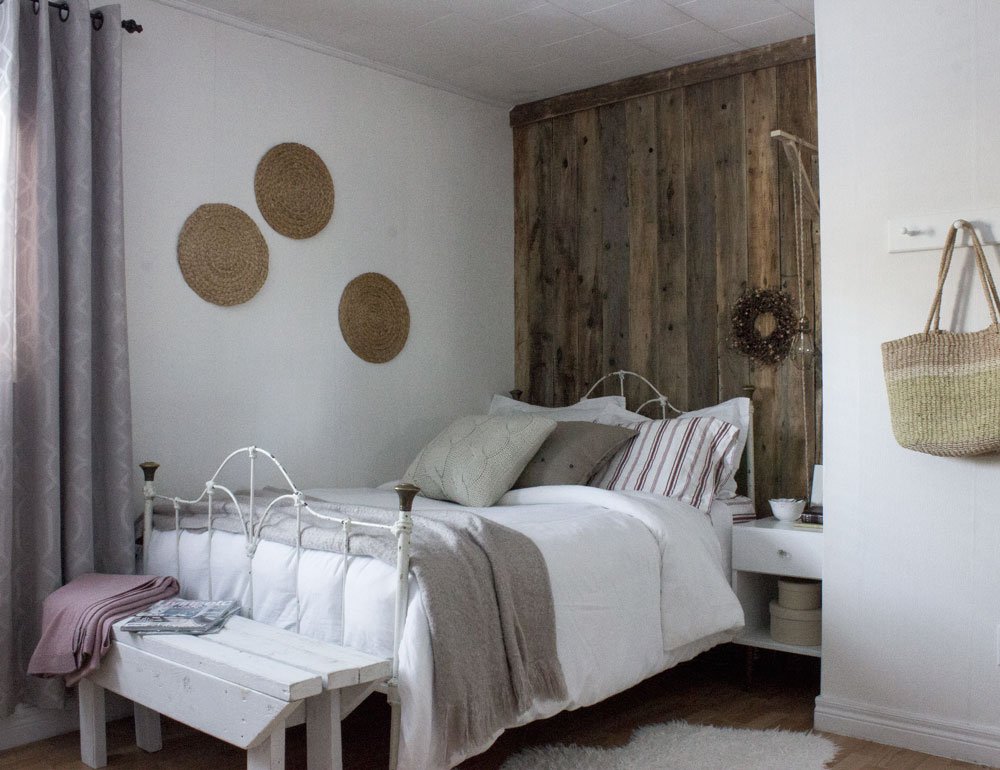
Yesterday I showed you a recent guest room/office project that was completed for just $156. This was because we used a lot of reclaimed materials and furniture, and did some DIY. One of the projects was a simple but very cute and functional bedside lamp hanging from the wall in order to save space on the small bedside table.
To make the wooden bracket - find some old barn boards or really any old lumber scraps- often lumber yards will have some scrap material to sell for cheap.
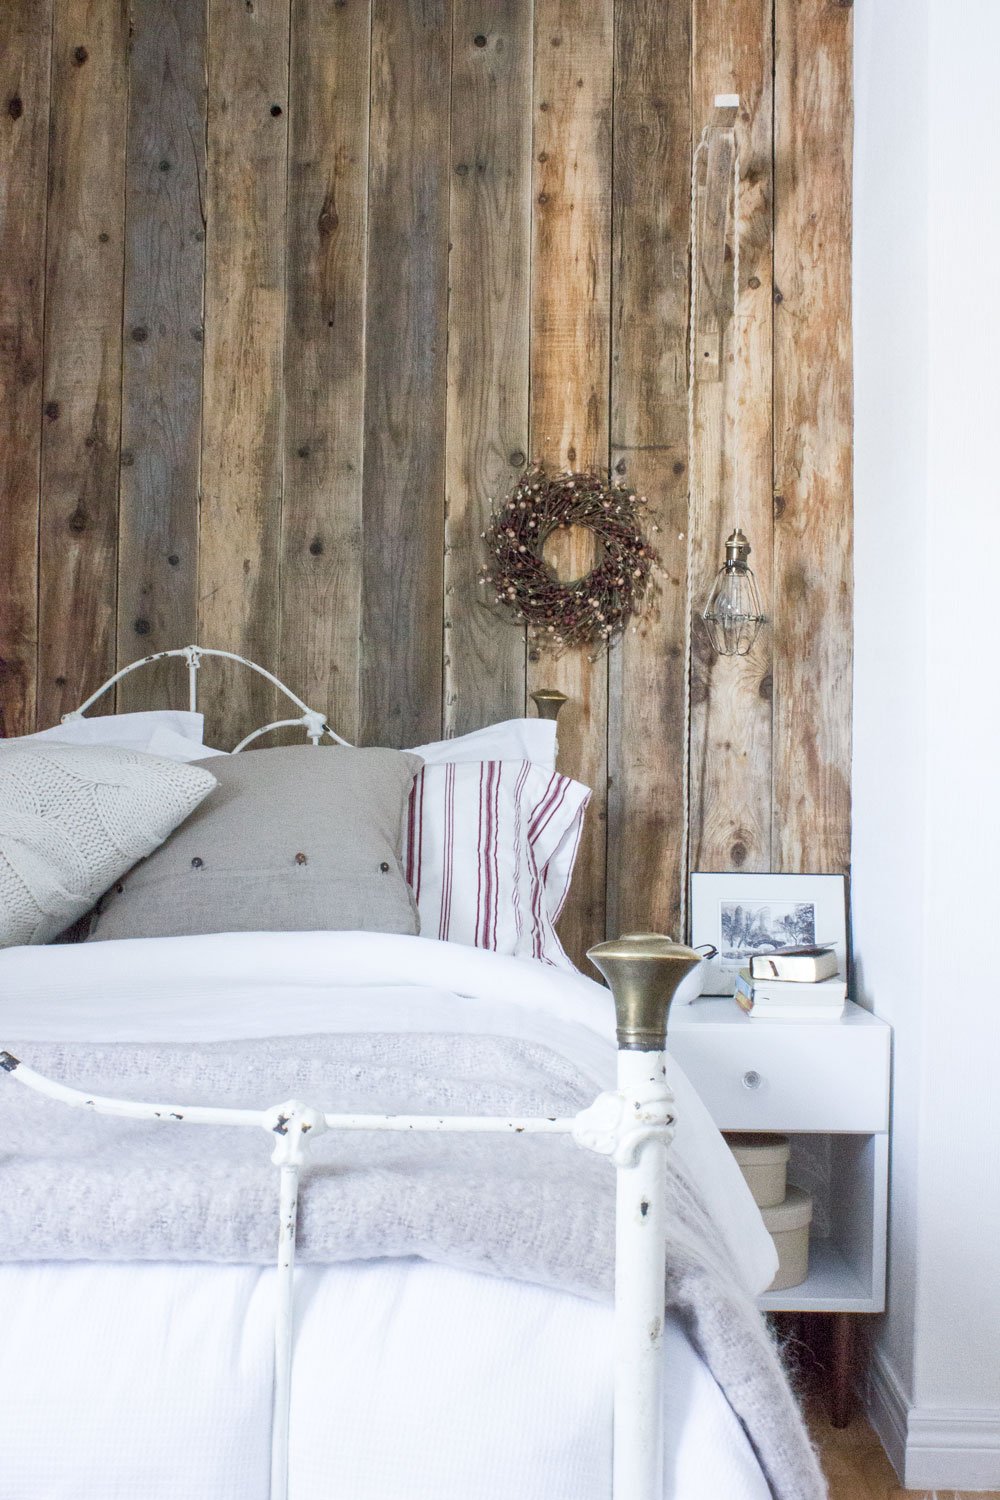
Using a table saw, cut 3 pieces all about 2" wide. Two will be approximately 15" long (this can vary but make sure that it is long enough so that the light hangs out from the wall).
Glue and then screw these two pieces together at the top of one end.
The third piece should be cut to fit snugly between the other two at a 45-degree angle, so you'll need to use a mitre saw on each end of this one.
Glue and then screw these a few inches in from each end (same distance for both) of the other two pieces.
Use two screws (and drywall anchors if needed) to secure to wall.
The lighting hardware was purchased from Snakehead Vintage - a corded set comes with a cloth twisted cord and plug attached - you then wire it to the socket you want (I chose an antique brass with the 3-way switch so I can turn on and off from bed) and add the cage on after. Easy directions are here.
Or you can purchase the lighting with cord on Etsy if you don’t want to get into wiring yourself!
The Edison bulb can be found at a local hardware store.
I simply wrapped the light cord around the bracket at the height that was right for reading and reaching from the bed.
Pretty easy, right?
